|
1.
|
Place the cake on a cake board or plate. If you want a smooth top, turn the cake upside down so the bottom is the top. | 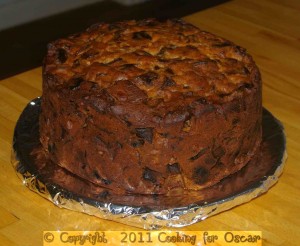 |
|
2.
|
Lightly dust a clean work surface with icing sugar and roll out the marzipan to a circle large enough to cover the top and sides of the cake. Turn the circle a quarter turn after every few rolls of the rolling pin to make sure it doesn't stick. Try and keep the thickness even all the way through.
Hint: measure the height of the cake and double, then add the diameter of the cake to get the diameter of your circle. Make it a little bit bigger so you have some overhang. | 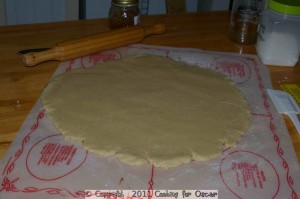 |
|
3.
|
Remove any lumps from the pear jam then heat to almost boiling so that it thins out | 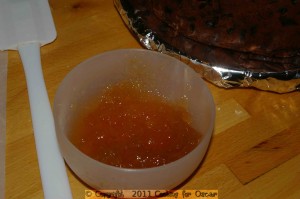 |
|
4.
|
Brush the top and sides of the cake with the jam. Be careful as it is hot enough to burn. | 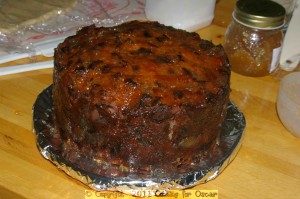 |
|
5.
|
Carefully ift up the marzipan from the centre and place over the top of the cake. Press down the sides, making sure there are no pleats and cut off the excess around the bottom. If any cracks appear, just pinch the marzipan back together, or use some of the off cuts to fill bigger holes. Make sure that the bottom of the cake is sealed to the plate/ cake board with the marzipan. | 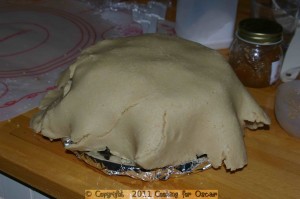 |
|
6.
|
Smooth the top of the cake with your hands, or use a rolling pin on top and a glass bottle on the sides. | 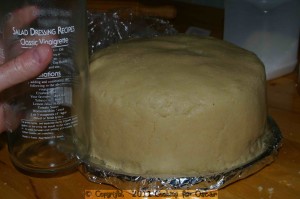 |
|
7.
|
Leave to dry uncovered in a cool place for at least 24 hours before applying the marzipan. | 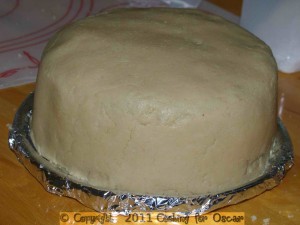 |
|
8.
|
Roll out the Royal Icing to a circle large enough to fit over the top and sides of the cake. | 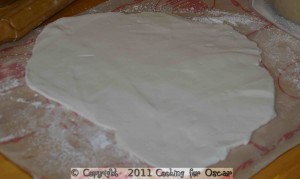 |
|
9.
|
Brush the top and the side of the cake with a little bit of water. |
|
10.
|
Roll the icing back over the rolling pin and lift up and roll onto the top of the cake. | 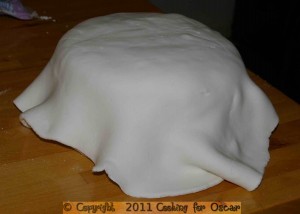 |
|
11.
|
Smooth down the sides, and cut off the excess at the bottom. Put the cuttings into an airtight container straight away to prevent them drying out, if you want to use them later, and store them in the fridge until ready to use.
|
|
12.
|
Smooth the top and sides of the icing with a rolling pin and glass jar, as per the Marzipan layer. | 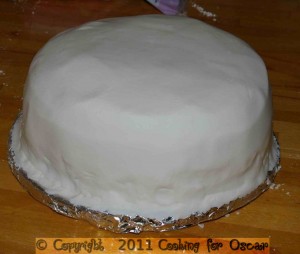 |
|
13.
|
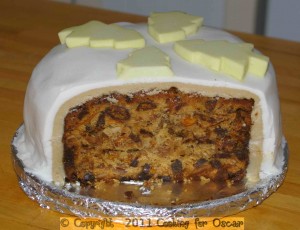
Leave the cake to stand until the icing is set and hard. If not serving straight away, store in an airtight container. Decorate as required. | 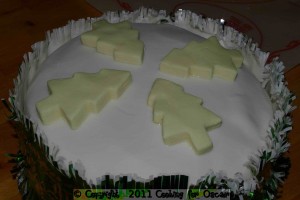 |
|
14.
|
The excess icing can be used to create decorative shapes to decorate the cake, if desired. Roll out the icing and use biscuit cutters to cut out the shapes. Stick the shapes to the cake with the egg white. | 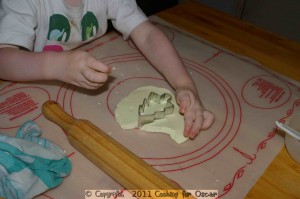 |
|
15.
|
To colour the decorative shapes, place some food colouring on a small plate. | 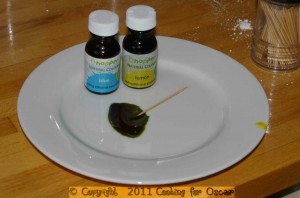 |
|
16.
|
Take a small piece of the icing and using a toothpick add a small amount of the food colouring. Roll and knead the icing in your hand until the colour is evenly spread through. Add more food colour until you achieve the desired result. | 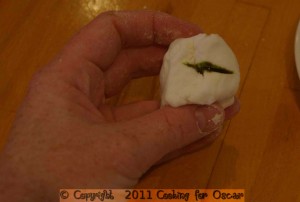 |
|
17.
|
Repeat with the rest of the icing, then knead all together. . Form into decorations by rolling and cutting out shapes, or moulding shapes by hand. | 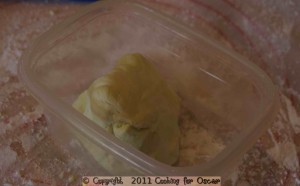 |
|
18.
|
Use some egg white to stick the decorations to the cake. | 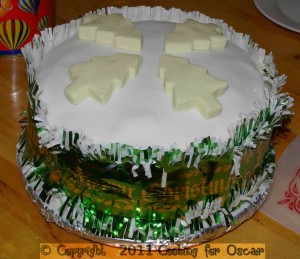 |


 Print recipe